Remember that time when I wrote about how I easily created some nice paintings to beautify my dojo?
Well, last Friday I let my inner artistic beast roam free, because it was time to yet again “pimp” my dojo.
Why?
Because I had a big white wall with nothing on it.
And I couldn’t stand it anymore!
So here’s what I did (and what you can easily do yourself):
Step #1: Get some expensive stuff…
More specifically, buy/borrow/win the following things:
A projecter and a computer.
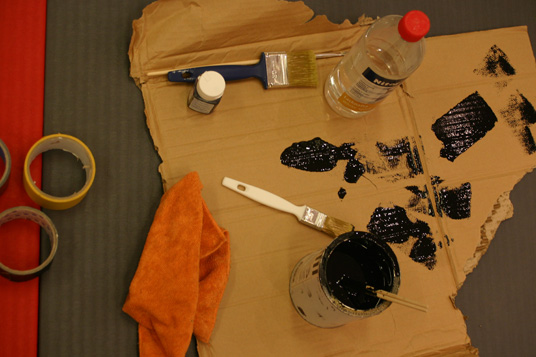
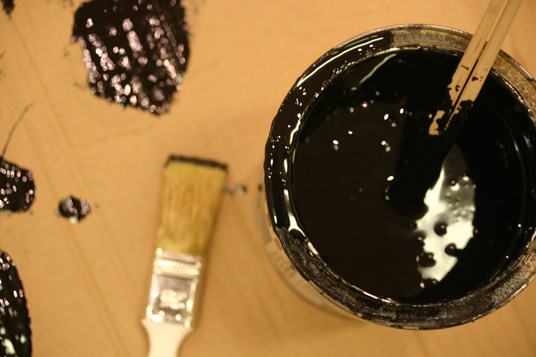 Some paint, and a brush. Or paint roller.
For the color I chose black, but you could use whatever you want.
Sadly, a sai won’t do. Neither will probably any other kobudo weapon.
And lastly, you’ll need…

Massive ammounts of paint tape.
Got it?
Okay, let’s move on.
Step #2: Install the gear
As you’ve probably figured out, we’re doing a painting on the wall. So, logically, you’ll need something to paint.
I chose a quote.
You could choose a Japanese character (kanji), an abstract figure, or something else that’s easy to paint (without much detail).
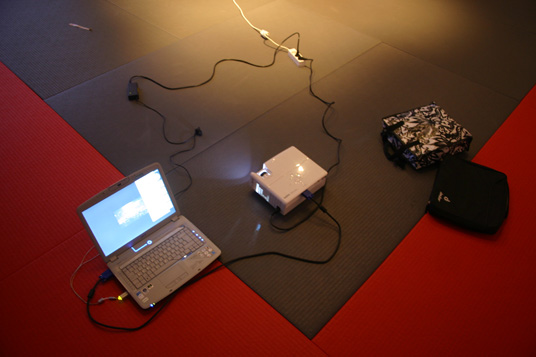
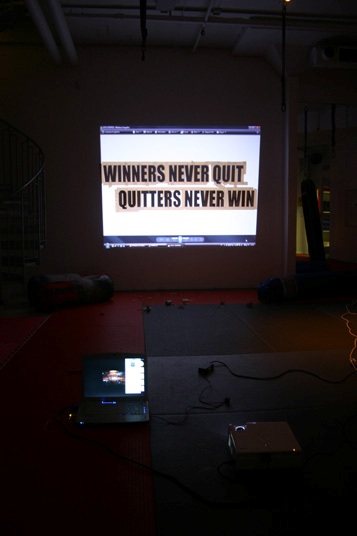
When you have chosen a motive, turn your computer on, and connect it to the projecter.
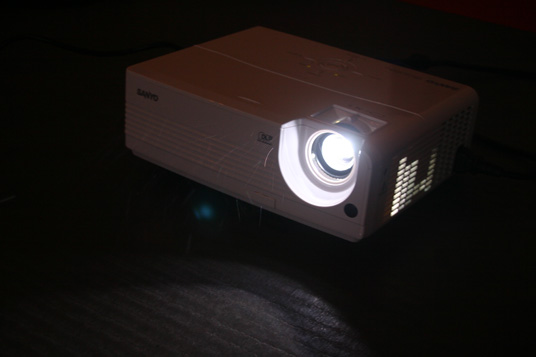 Make sure it’s dark in the room.
Your motive should be clearly visible on the wall.
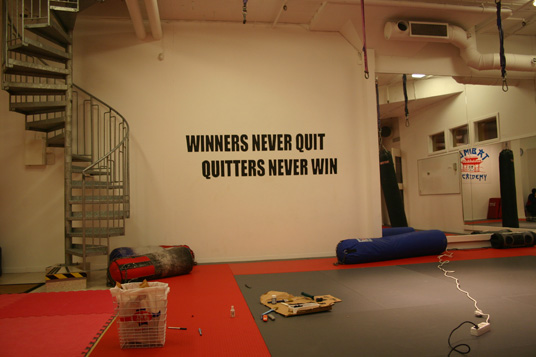
Winner never quit, and quitters never win.
Actually, I think this quote/statement is not 100% accurate. To me, a winner is somebody who knows when to quit, and when not to quit. A loser doesn’t. Simply doing something for the sake of not wanting to be “a quitter” is just a waste of time.
Anyway, the general spirit behind the words are fine.
And it suits our other martial arts/sports that we have in our dojo.
Step #3: Start working…
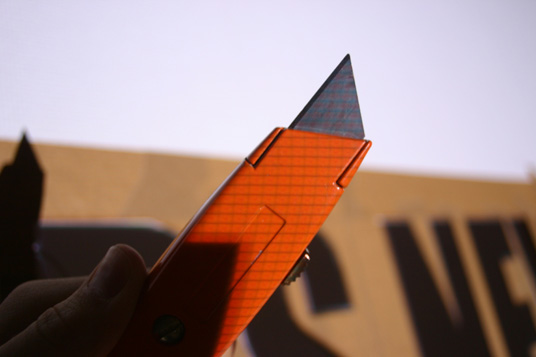
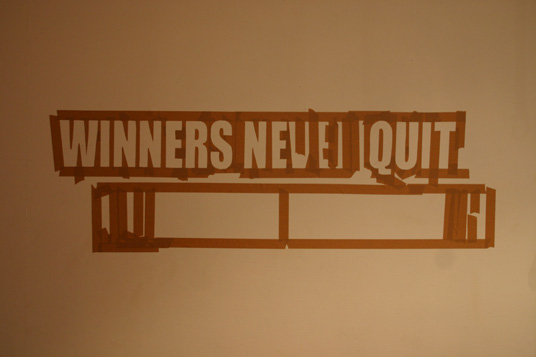
And here’s where your knife comes handy (for cutting all corners).
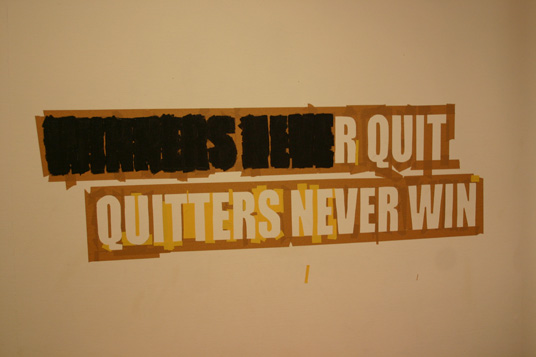
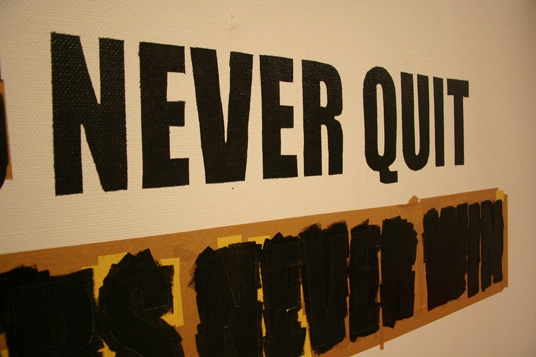
It took about three hours for two people to tape everything.
It’s bigger than it looks, okay?
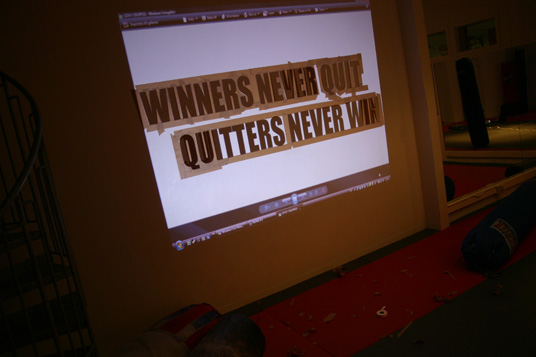
From another angle.
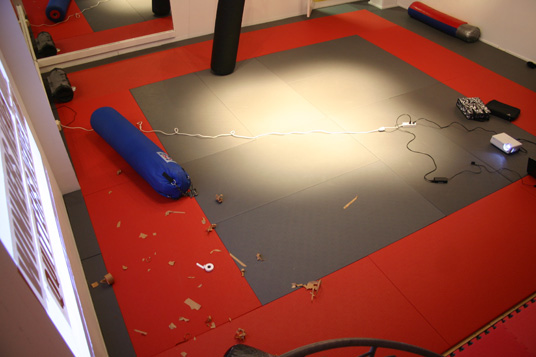
As you can see, this is not our main dojo. It’s more of a heavy bag room.
Oh, and these pieces of tape will stick to your socks all the time, so don’t wear any!
(I ran out of brown tape, so I had to use some yellow.)
This was the hard part.
Now comes the easy part.
Step #4: Paint it!
But be careful, and always work from the edges in towards the center (of every letter) to make sure you don’t accidentally paint under the tape.
But I’m no expert…
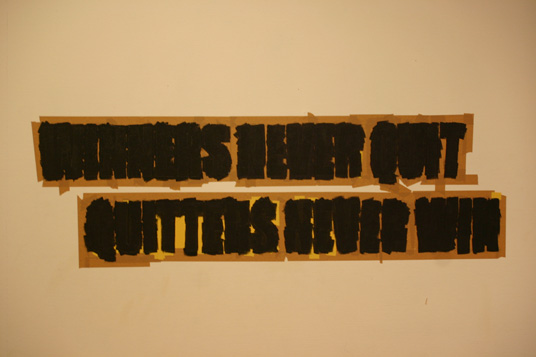
Expert or not, I managed to paint the whole thing without spilling on the mats!
Now comes the boring part…
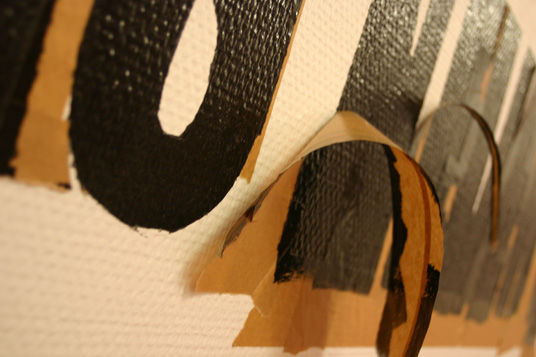
Step #5: Wait. And then rip!
And so easy. It just takes a little time, that’s all.
Tadaa!
Clean up, and wait for people to begin training!
If you try this, remember, I’m not a professional painter or anything.
There might be easier/better ways.
Good luck!
And if you only knew what I have planned for part 3…



5 Comments